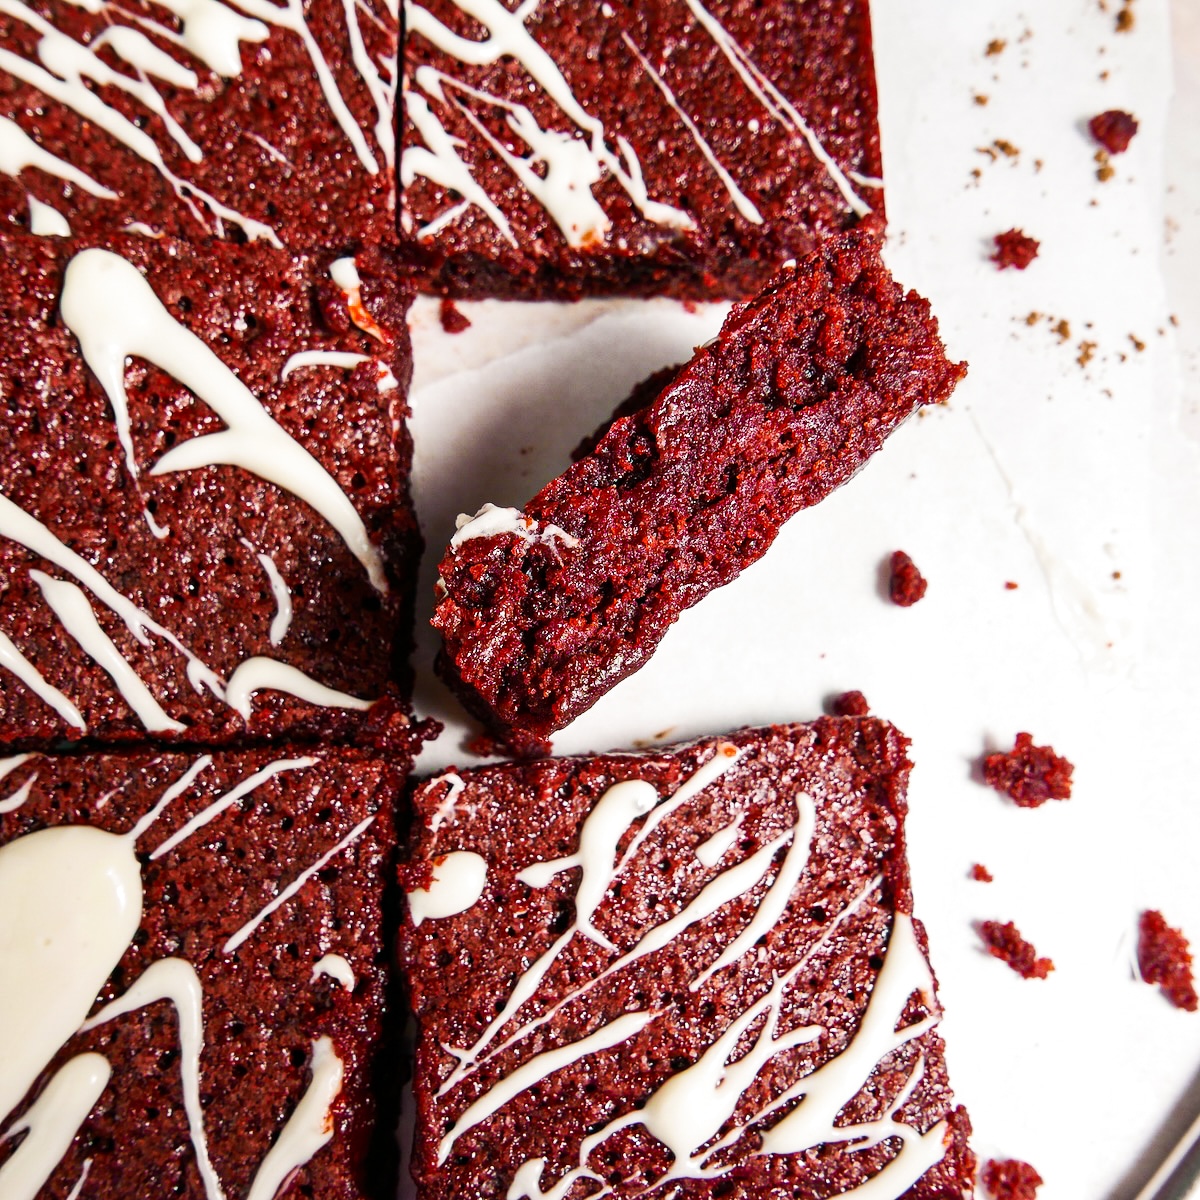
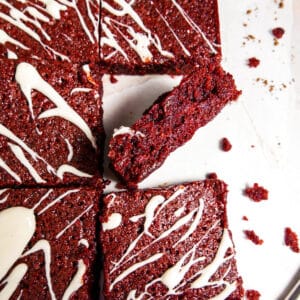
These fudgy red velvet brownies are super dense, soft, vibrant, and SO hard to put down. The decadent flavor is a combination of chocolate, vanilla, and that signature tang that makes it red velvet. The cream cheese glaze is the perfect complement to these easy brownies without making them overly sweet.
Want to save this recipe?
Enter your email below and get it sent straight to your inbox. Plus, I'll send you easy and delicious recipes every week!
I'm not one to pass up brownies, whether they're classic, no butter brownies, or vegan pumpkin brownies.
But these made-from-scratch red velvet brownies are my new favorite. They combine the light cocoa flavor of red velvet with a rich and fudgy brownie texture. They're one-bowl, so easy, and guaranteed to be a hit wherever you serve them.
Jump to:
⭐️ Why These Brownies are the Best
- Rich, fudgy, chewy, soft, and dense red velvet brownies that are made from scratch
- The cream cheese glaze is the perfect complement to the brownies without making them overly sweet
- Red and vibrant brownies that are perfect for Valentine's Day
- Quick and easy brownie recipe, so no need to use store-bought brownie mix
🥚 Ingredient Notes
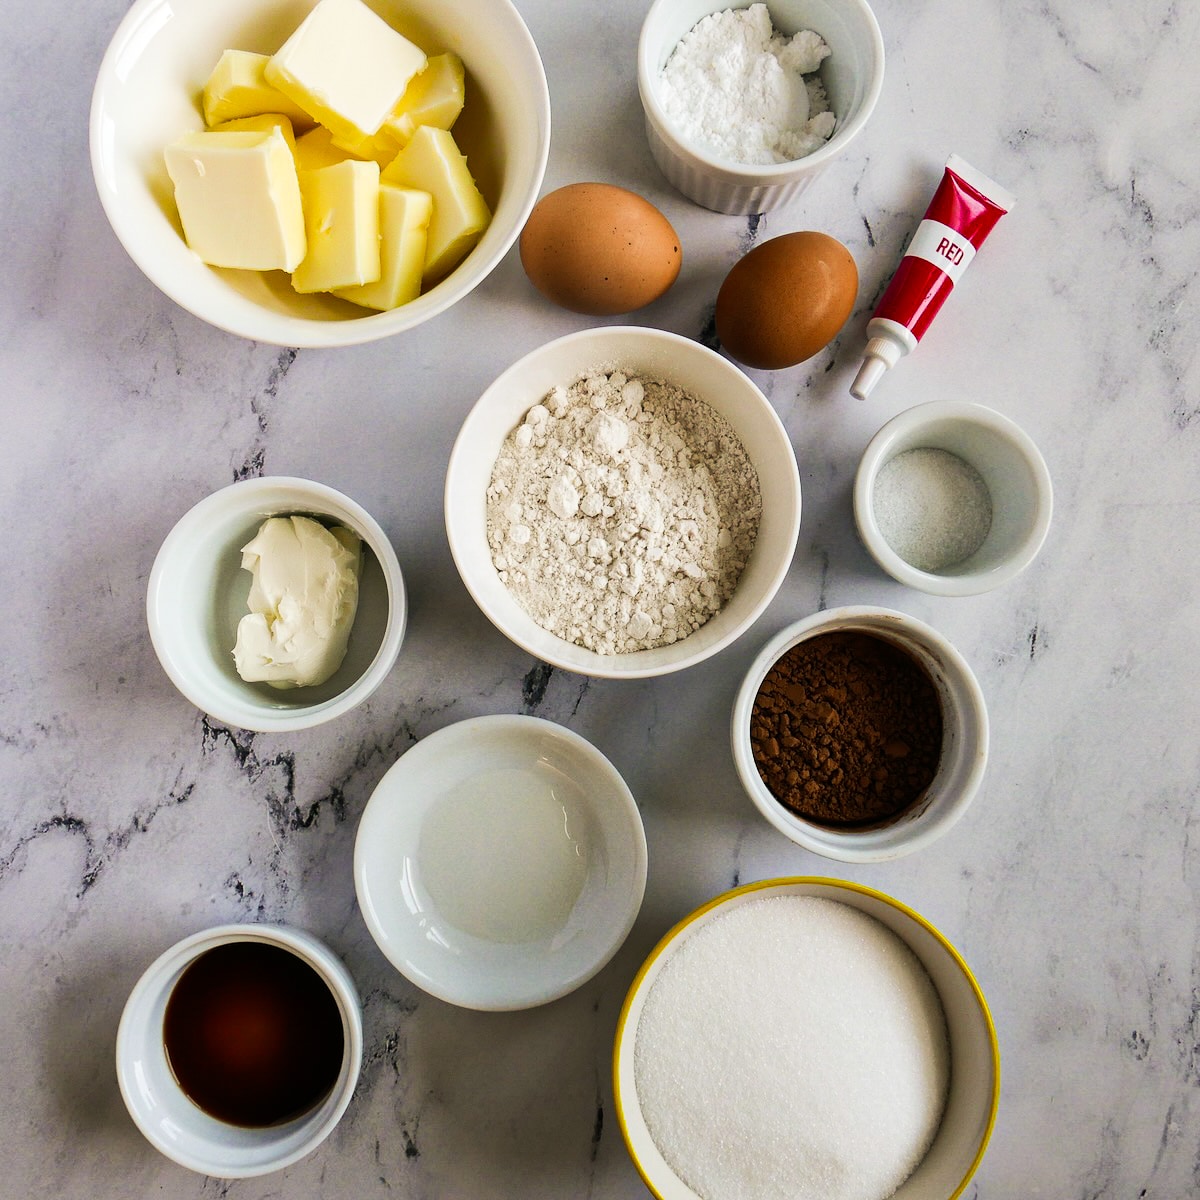
- Unsalted butter - Using unsalted butter helps you control the amount of salt in your baking
- Red gel food coloring - I recommend using gel food coloring as opposed to liquid, as it won't alter the texture of your brownies by adding moisture.
- Unsweetened cocoa powder - Use unprocessed/natural cocoa powder. This will give your brownies a chocolatey flavor while still allowing the red color to shine through, whereas Dutch processed cocoa powder will result in a less chocolatey flavor and a less vibrant red color.
- Vanilla extract - Adds warm vanilla flavor that is associated with red velvet cake
- White vinegar - Gives the brownies that signature tangy flavor
- Eggs - Make sure your eggs are room temperature, which will help them incorporate air when whisked together.
- Cream cheese - Use full-fat cream cheese for the best flavor and texture
📝 Variations & Substitutions
- Use 1 tablespoon of green food coloring and make them for St. Patrick's Day
- Use a heart-shaped cookie cutter to cut them into heart shapes for Valentine's Day
- White chocolate: Mix in 1 cup of white chocolate chips after the flour has been added, and bake per instructions.
🥣 How to Make Red Velvet Brownies
Make the red velvet brownies:
Preheat the oven to 350 degrees F. Line a metal 8"x8" baking pan with parchment paper and set aside.
In a medium microwave-safe bowl, melt the butter in 30-second increments until melted. Whisk in the granulated sugar.
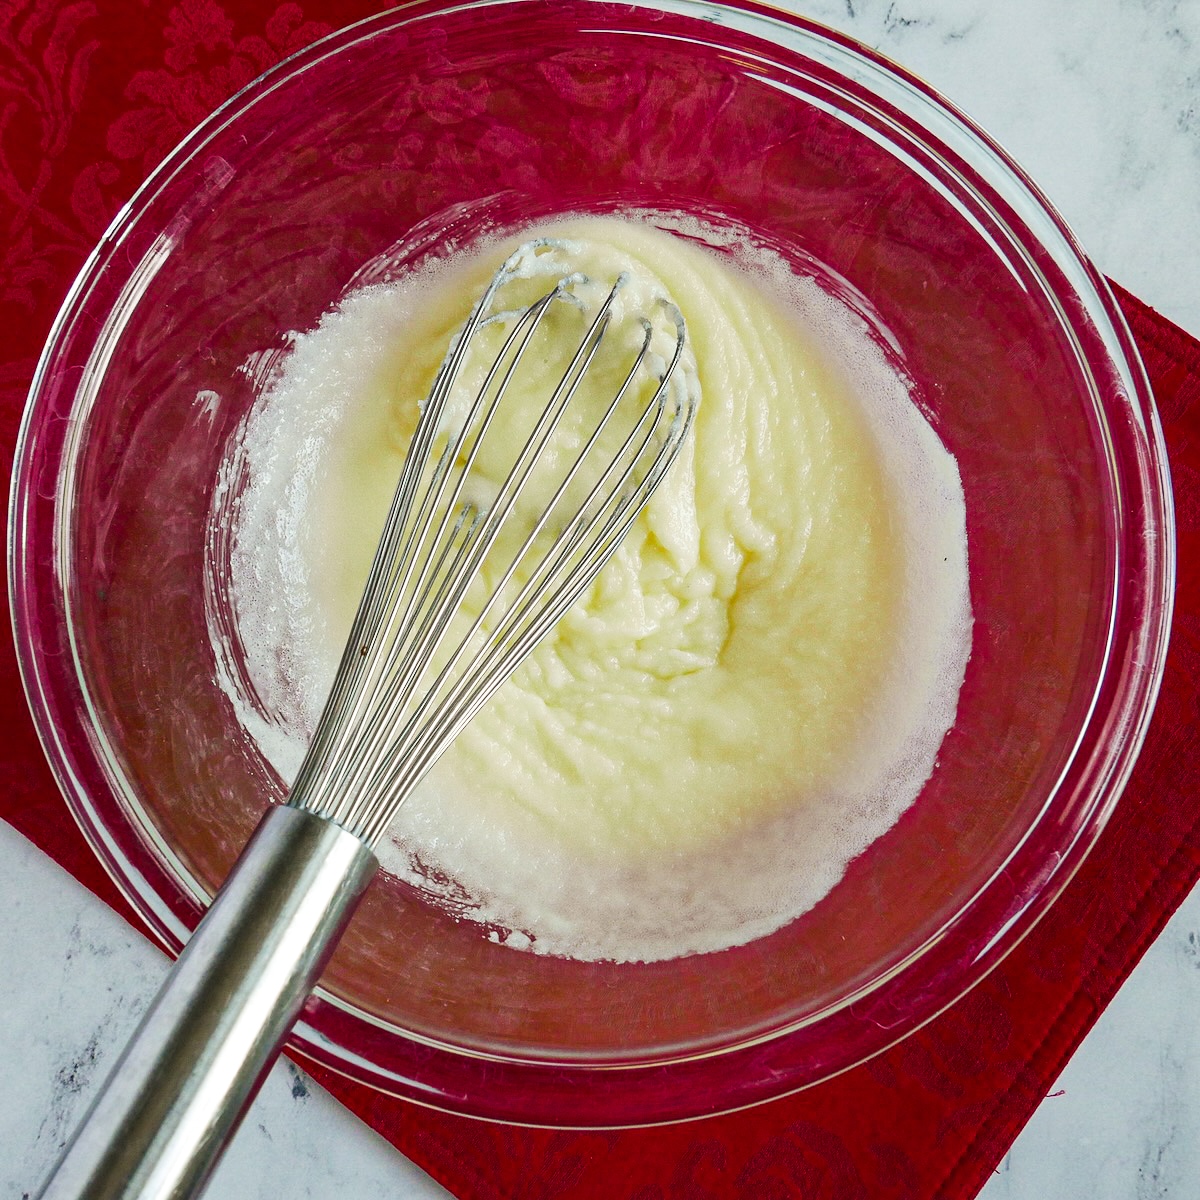
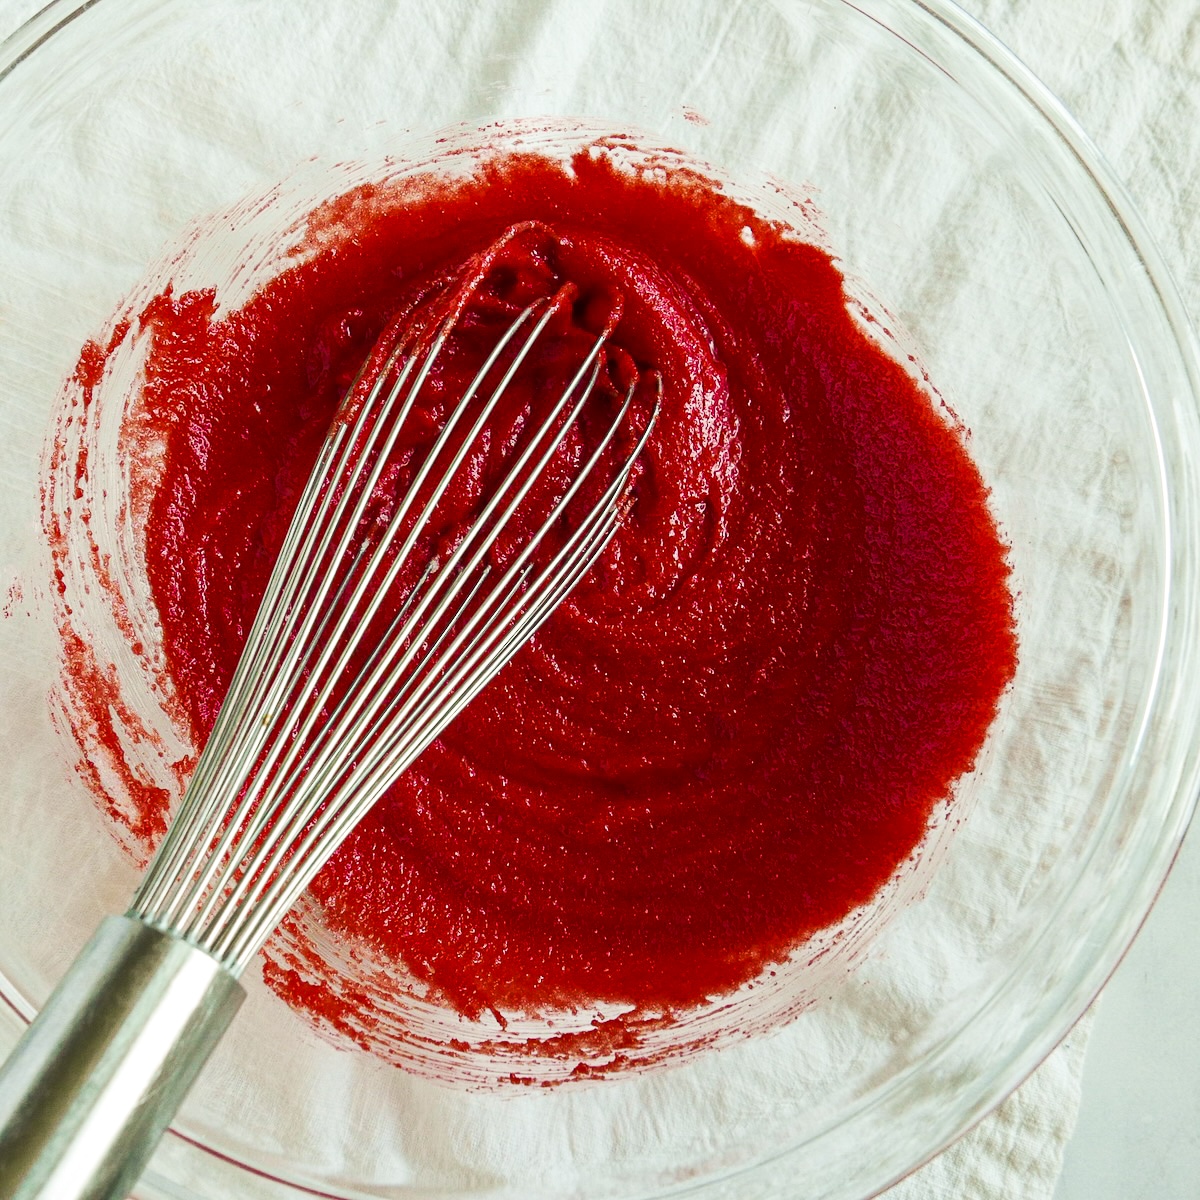
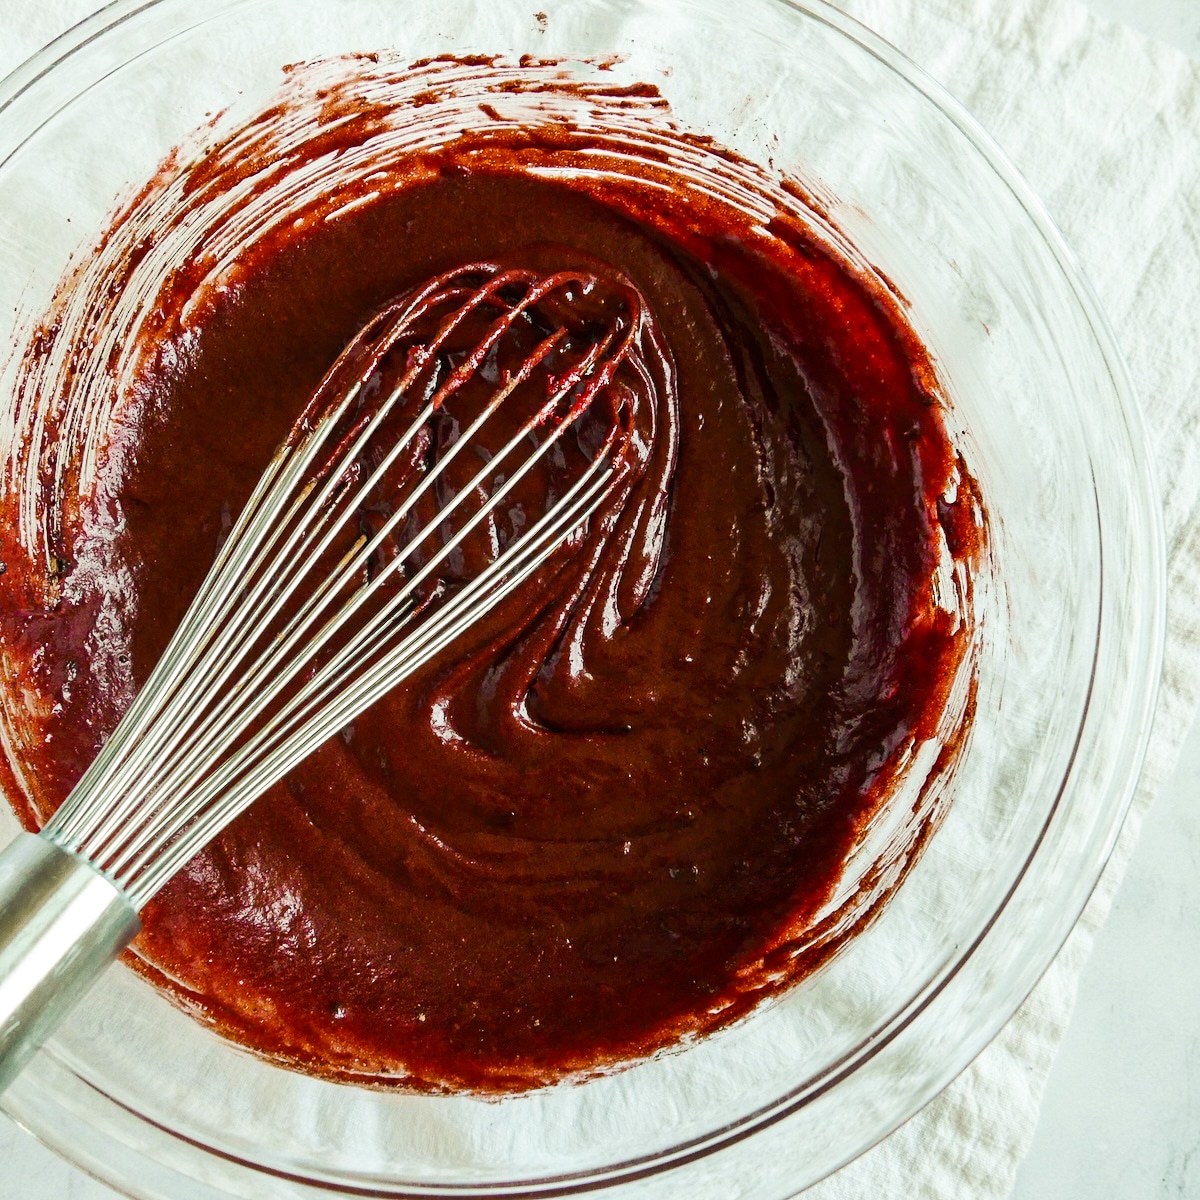
Add the red gel food coloring, cocoa powder, vanilla extract, white vinegar, and salt, and whisk until well combined. Add eggs and whisk for 1 minute. Use a rubber spatula to mix in the flour. Stir just until combined.
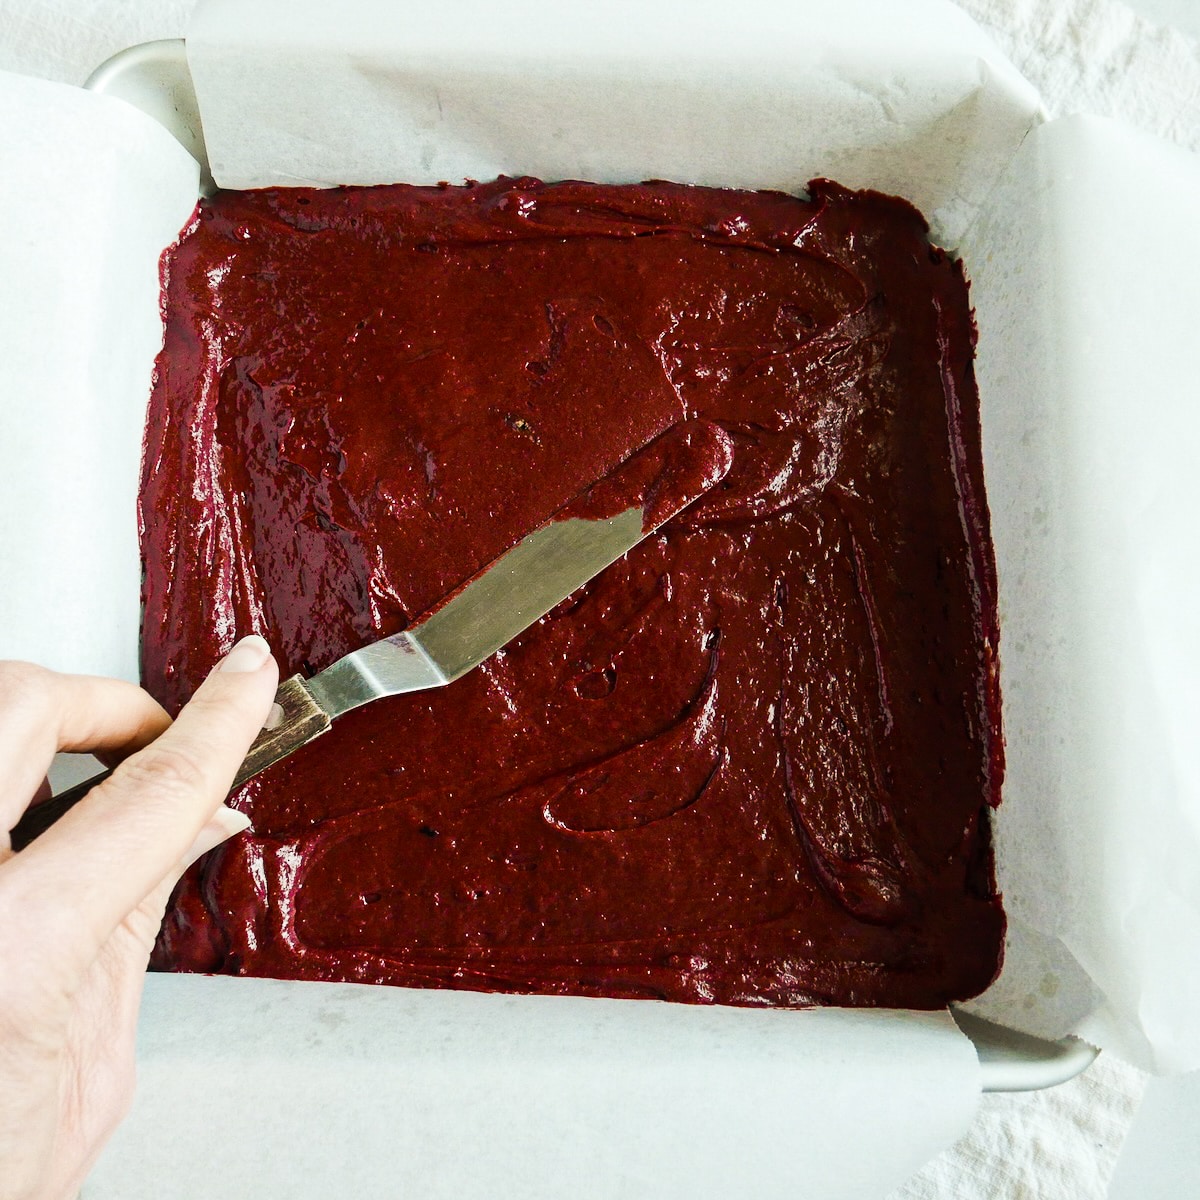
Pour the brownie batter into the prepared pan and spread out evenly using a rubber spatula or spoon. Bake for 22-27 minutes, or until a toothpick inserted into the center comes out covered in moist crumbs.
Let your brownies cool in the pan for 30 minutes, then transfer to a wire rack to cool completely.
Make the cream cheese glaze:
While your brownies are cooling, make the glaze. Add softened cream cheese and powdered sugar to a small bowl and whisk until smooth and no lumps remain.
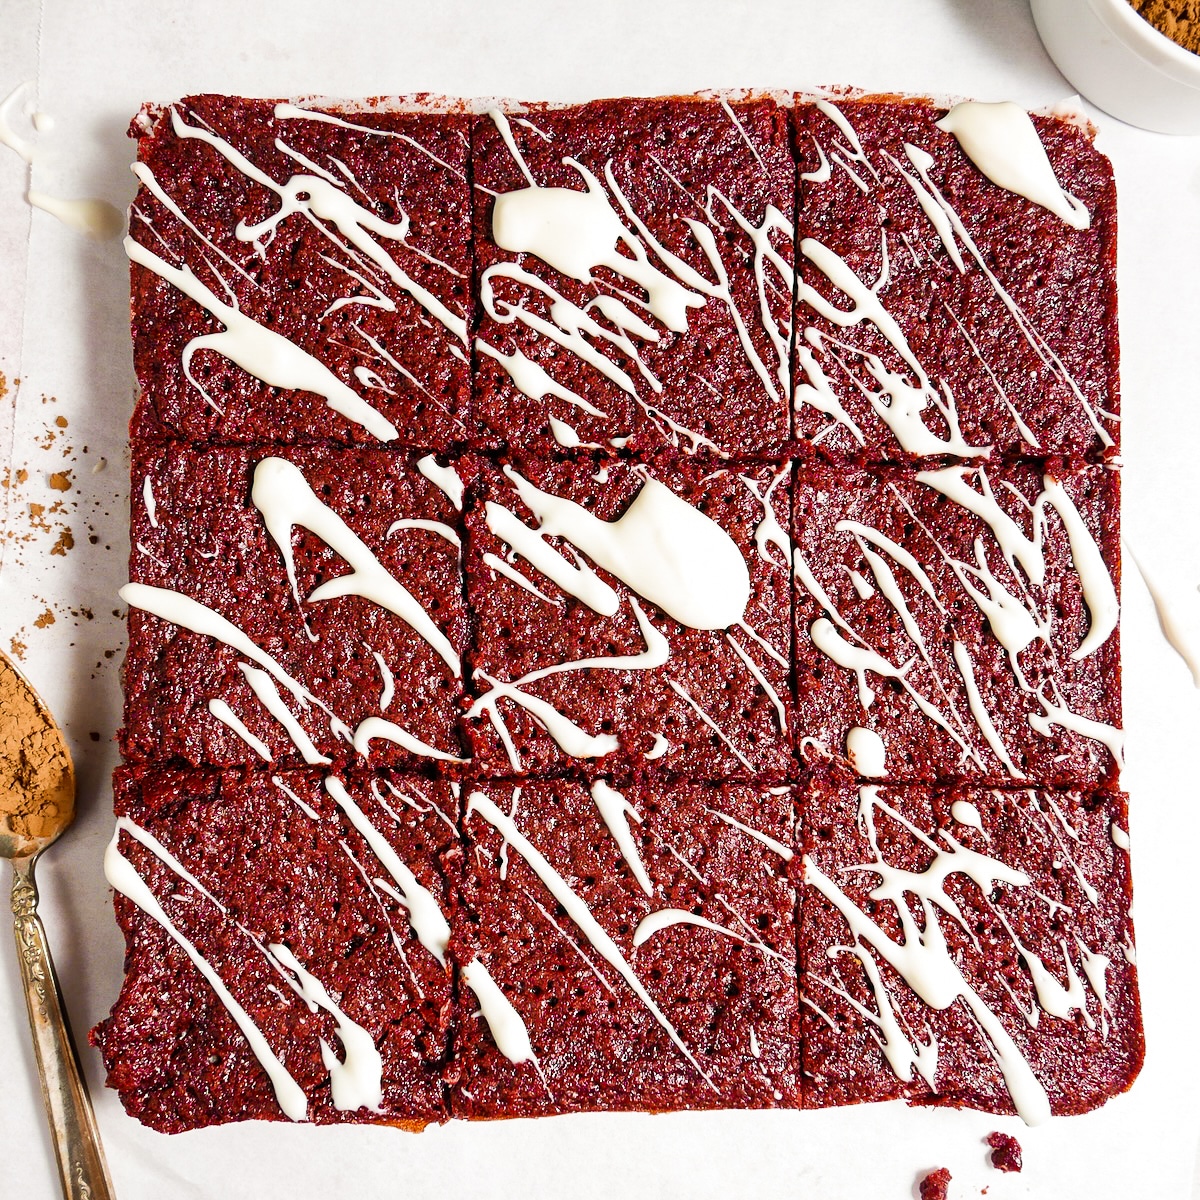
Pour in the milk and vanilla extract, and whisk until smooth. The consistency should be thick enough to hold its shape after you've drizzled it over your brownies. Use a spoon or fork to drizzle on top of brownies, making a zigzag pattern. Brownies can be stored at room temperature for up to 4 days.
👩🏼🍳 Expert Tips and Tricks
- Storage: Layer your brownies with parchment paper in an airtight container, and store at room temperature for up to 4 days.
- How to freeze brownies: Let brownies cool completely, then wrap individual slices in wax paper, and transfer to a freezer-safe container. They can be stored in the freezer for up to 3 months, and thawed overnight in the refrigerator.
- Use a metal or aluminum pan. Metal heats up faster than glass, so it creates crisper edges, even baking, and a better rise. If you use a glass pan, you might have to add a few more minutes to the bake time.
- Don't overmix. This only applies to after you've added the dry ingredients. Overworking the gluten will create tough brownies, so mix just until combined.
- Don't overbake brownies. To test doneness, insert a toothpick into the center of brownies. It should have a few wet crumb pieces.
- Use unprocessed/natural cocoa powder. This will give your brownies a chocolatey flavor while still allowing the red color to shine through, whereas Dutch processed cocoa powder will result in a less chocolatey flavor and a less vibrant red color. Read more about the best cocoa to use for red velvet cake!
- Use red gel food coloring. Or more specifically, avoid liquid food coloring, as the extra moisture will throw off the brownie recipe, and you will end up with brownies that are not great.
- Let brownies cool completely. To make for cleaner brownie slices, make sure that they are cooled completely before cutting them.
- Use parchment paper. This makes for very easy removal from the pan!
💬 Frequently Asked Questions
Red velvet is made with cocoa powder, butter, eggs, sugar, flour, vinegar, vanilla, and red food coloring. The cocoa gives it a light texture and the vinegar gives it a slightly tangy flavor, which differentiates it from chocolate cake.
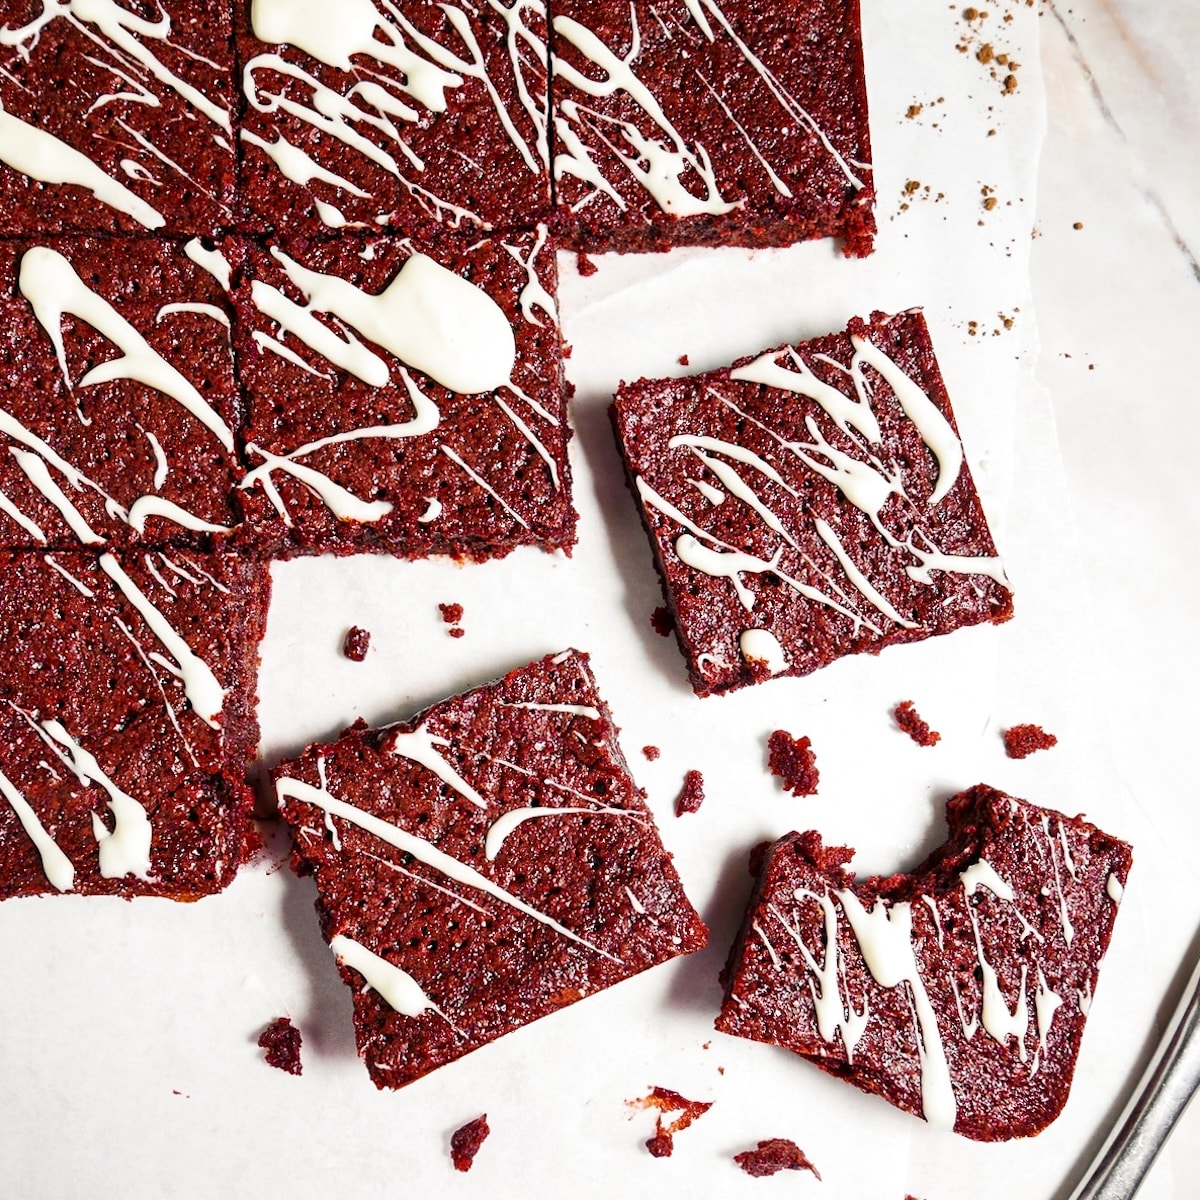
Chewy brownies that are fudgy and moist typically have a high amount of fat and less flour, making for a dense, chewy, and gooey texture.
To keep your brownies soft and moist, layer them with parchment paper in an airtight container, and store at room temperature for up to 4 days.
🍽 More Brownie and Cookie Recipes
Tried this recipe? Please leave a star ⭐️⭐️⭐️⭐️⭐️ rating below and/or a review in the comments section further down the page. You can also stay in touch with us through social media by following us on Instagram, Pinterest, TikTok, and Facebook.
Subscribe to my email newsletter to get a FREE e-book of 20 vegetarian recipes, and get new recipes delivered to your inbox every week!
Red Velvet Brownies Recipe
Equipment
- 8"x8" metal pan
- parchment paper
Ingredients
For the red velvet brownies:
- ¾ cup unsalted butter, melted
- 1 ¼ cups granulated sugar
- 1 Tablespoon red gel food coloring
- ¼ cup unsweetened cocoa powder
- 2 teaspoons vanilla extract
- 1 teaspoon white vinegar
- ½ teaspoon sea salt
- 2 large eggs, room temperature
- ¾ cup all-purpose flour
For the cream cheese glaze:
- 2 ounces cream cheese, softened
- ¼ cup powdered sugar
- 1-2 Tablespoons whole milk
- ½ teaspoon vanilla extract
Instructions
Make the red velvet brownies:
- Preheat the oven to 350 degrees F. Line a metal 8"x8" baking pan with parchment paper and set aside.
- In a medium microwave-safe bowl, melt the butter in 30-second increments until melted. Whisk in the granulated sugar.
- Add the red gel food coloring, cocoa powder, vanilla extract, white vinegar, and salt, and whisk until well combined. Add eggs and whisk for 1 minute.
- Use a rubber spatula to mix in the flour. Stir just until combined.
- Pour the brownie batter into the prepared pan and spread out evenly using a rubber spatula or spoon. Bake for 23-28 minutes, or until a toothpick inserted into the center comes out covered in moist crumbs.
- Let your brownies cool in the pan for 30 minutes, then transfer to a wire rack to cool completely.
Make the cream cheese glaze:
- While your brownies are cooling, make the glaze. Add softened cream cheese and powdered sugar to a small bowl and whisk until smooth and no lumps remain.
- Pour in the milk and vanilla extract, and whisk until smooth. The consistency should be thick enough to hold its shape after you've drizzled it over your brownies.
- Use a spoon or fork to drizzle glaze on top of brownies, making a zigzag pattern. Brownies can be stored at room temperature for up to 4 days.
Video
Notes
- Storage: Layer your brownies with parchment paper in an airtight container, and store at room temperature for up to 4 days.
- How to freeze brownies: Let brownies cool completely, then wrap individual slices in wax paper, and transfer to a freezer-safe container. They can be stored in the freezer for up to 3 months, and thawed overnight in the refrigerator.
- Use a metal or aluminum pan. Metal heats up faster than glass, so it creates crisper edges, even baking, and a better rise. If you use a glass pan, you might have to add a few more minutes to the bake time.
- Don't overmix. This only applies to after you've added the dry ingredients. Overworking the gluten will create tough brownies, so mix just until combined.
- Don't overbake brownies. To test doneness, insert a toothpick into the center of brownies. It should have a few wet crumb pieces.
- Inspired by Olives + Thyme

Barb
Just in time for Valentine’s Day!!
Nicole
I can't believe how fudgy these turned out to be! My entire family has requested that I make them weekly!!
MaryAnne
Yay, thanks so much for leaving a review, Nicole! 🙂
Jan
What size pan is used for 2X and 3X?
MaryAnne
Hi Jan, to double the recipe, you can use a 9"x13" pan, and to triple it, you can use a half sheet pan (18"x13"). I hope that's helpful!